Christmas Chalet

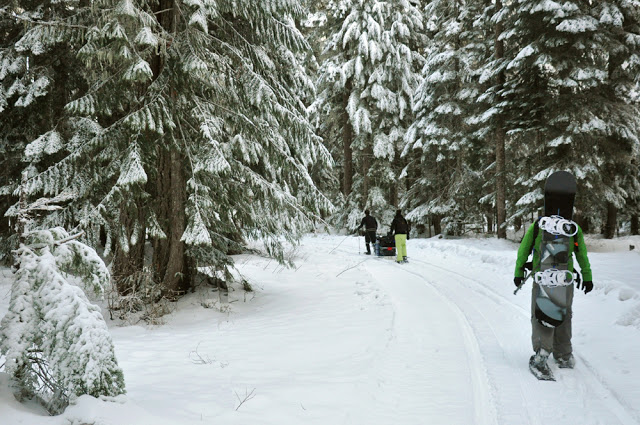
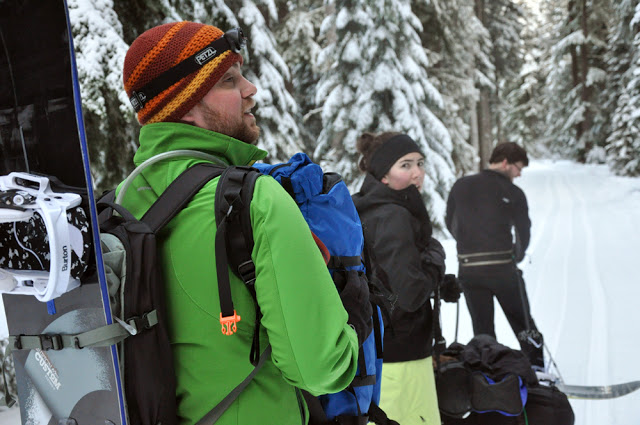
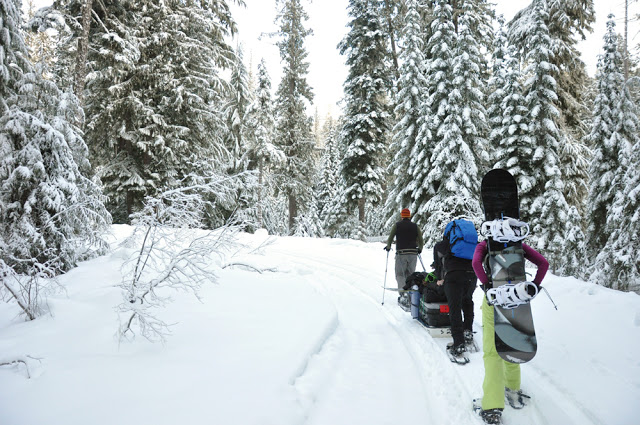
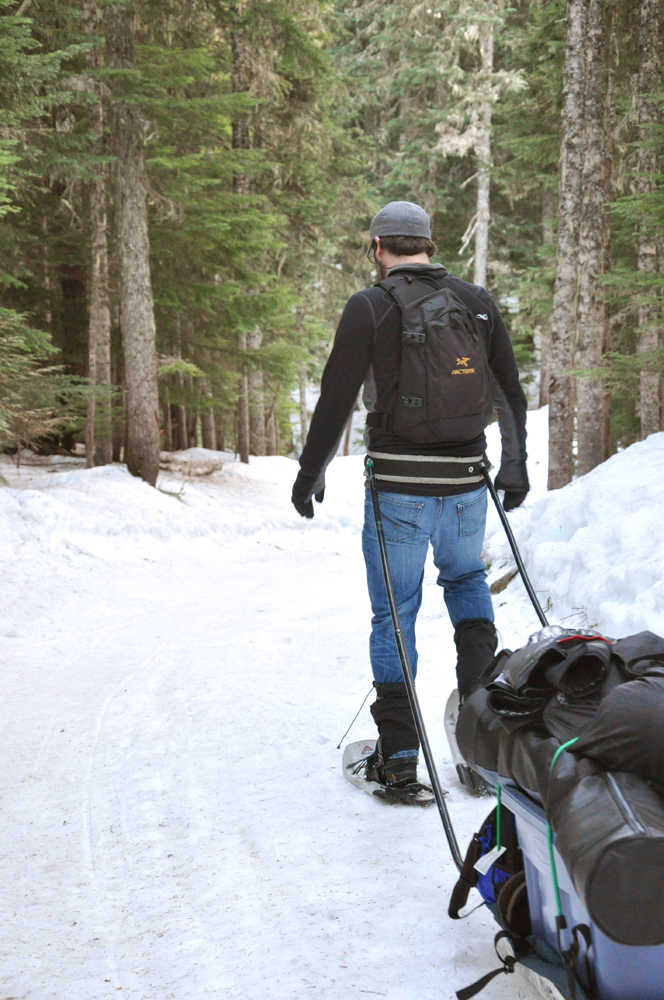
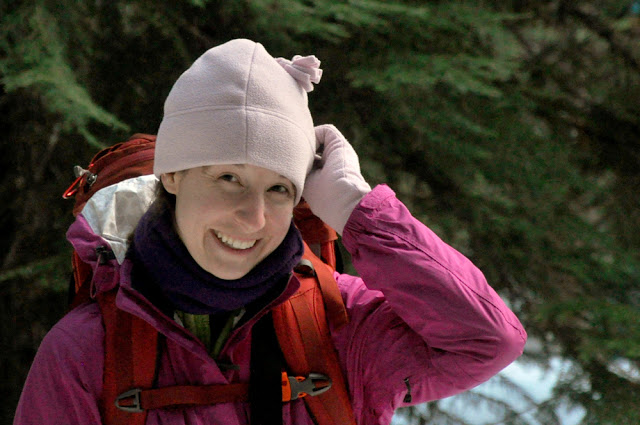
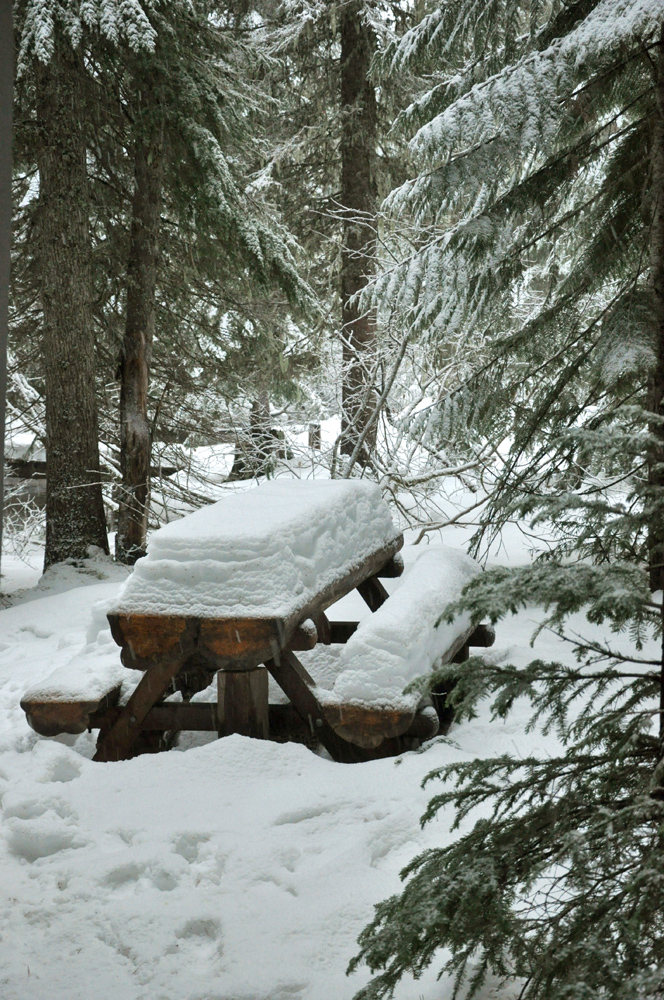
I hope everyone had a lovely Christmas. I enjoyed my holiday with Tanner and good friends Jason and Elizabeth at our own little mountain chalet on Mt. Hood... the cabin is situated far from the parking area, so to get there you have to strap on packs, tow along a sled, and snowshoe over two miles of snowy hills!

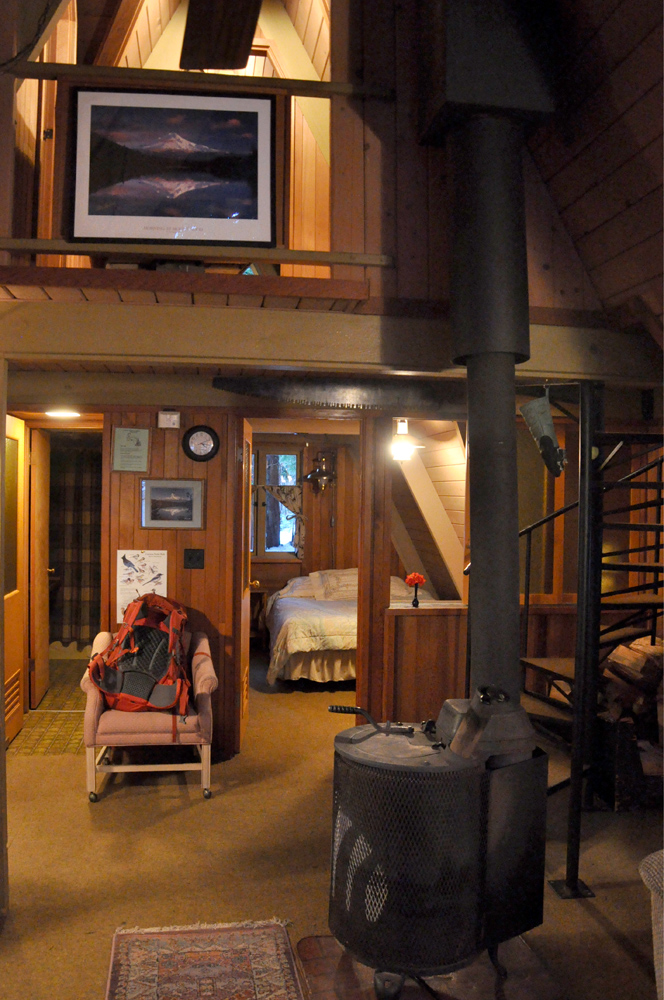
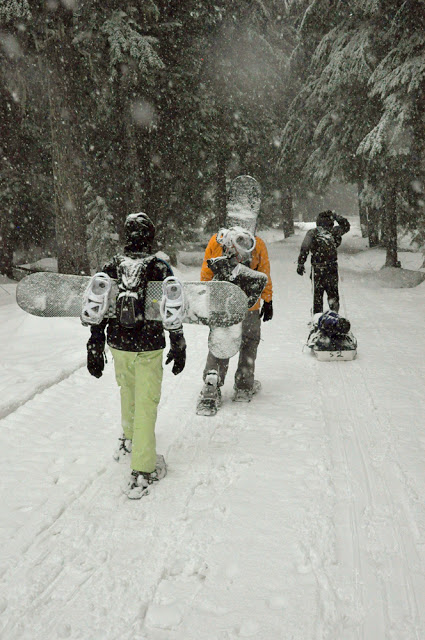
Tanner and I had Christmas Eve off, so we packed our sled with a large bin of food, two sets of skis and boots, and clothes for the weekend, and set off. The trail was covered in hard packed ice, which made the heavy sled easier to pull over the many hills along the way. We arrived at our adorable cabin, unpacked, and then trekked the sled back out to the parking area to meet Jason and Elizabeth later that evening. They loaded up more food, clothes, games and two sets of snowboards, and for the third time, we snowshoed back to the cabin - this time by headlamp - and settled in for the night.

On Christmas morning we woke early and loaded up our ski gear onto the sled. We snowshoed the one-hour trek back to the car (we were quickly learning that even though we were only six miles from the ski slopes, it took just as long to get there as it did driving the 60 miles from Portland!) and arrived on the mountain just in time for it to start snowing!

The slopes were quickly covered in a fresh layer of powder, but the wind was fierce and the terrain difficult to discern in almost white-out conditions, so we only stayed a few hours before going home to our cabin. The snow was still coming down in buckets, and we discovered that our well-worn track to the cabin was a whole new adventure with a fresh cover of white!

It was only 2:30 pm, but we had already snowshoed five miles with heavy gear and spent the afternoon on the slopes. Christmas evening was spent making cinnamon rolls, a large lasagna, and cobbler, playing board games, stoking a warm fire in the furnace, and watching the snow softly fall outside our windows.

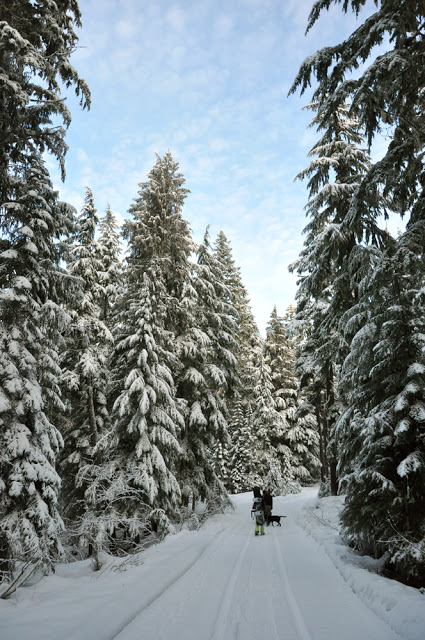
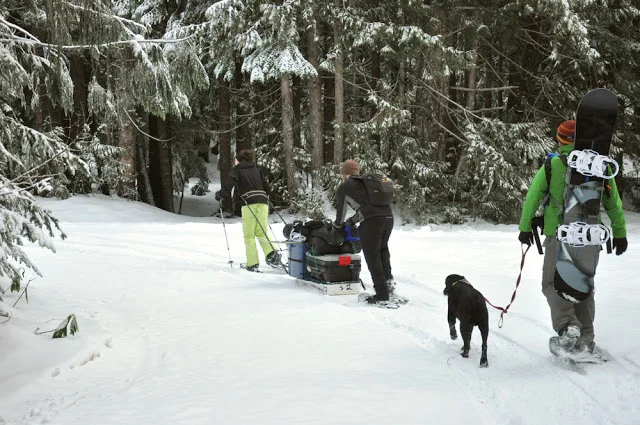
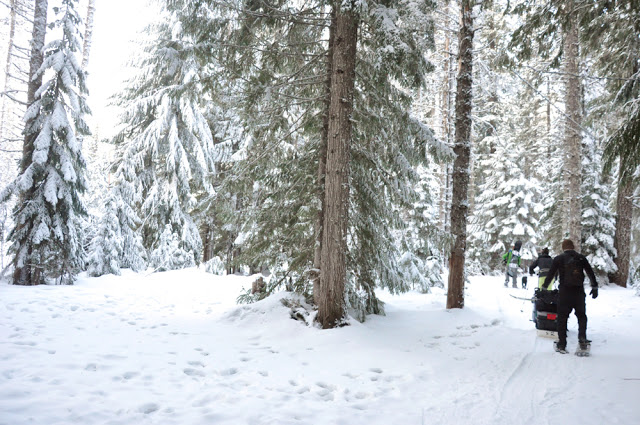
The next day we were up early and made our way through a new, deep layer of snow beneath blue skies. Though the trek was gorgeous and I would have liked to enjoy it more, we had a day of work ahead of us, and a timeline to meet. Despite that we were on the trail by 7:30, loading the sled with two trips worth of gear made the journey more wearisome. It must have weighed close to 150 pounds, plus the packs each of us carried, and the new friction of heavy snow beneath our feet. The trek out was all uphill, and we were soon stripped to t-shirts in the 20 degree morning to battle our excursion.

It took us two and a half hours to cover the two miles, and from there we said goodbye to our little chalet in the woods and returned to the real world. What a lovely Christmas weekend.

DIY: Sock Snowmen

Ok, this is definitely my favorite craft I've made all season. First, because they're super easy to make, and second, because they're ADORABLE.

I've been meaning to make some kind of snowman craft for a while, but unfortunately I couldn't figure out a good design. So far I've made all my crafts with stuff I've had lying around the house, so my holiday craft cost was close to nothing. Adorable snowmen, however, require blocks of wood or pieces of styrofoam or paint or fabric and time and effort and money.

I was debating between making a snowman out of a wire hanger or rolls of fabric when a thought struck me: socks! Socks are the perfect medium for snowmen! I set to work.

{sock snowmen}

For this craft, you'll need a pair of old socks that are crew length, or longer. I went through Tanner's bag o' socks in our closet for my set. Don't worry, he'll never miss them -- he owns something like 10,000 pairs of socks, but insists on wearing shorts and flip-flops 365 days a year. Boys...

First, cut off the top of the sock from the foot.

Turn the sock inside out and attach a rubber band tightly to the top of the sock. Then turn the sock right-side out again.

Fill the sock with rice. Make sure to pack it down as you go so the sock gets a nice round base.

Rubber band the top of the sock closed and put another rubber band 3/4 of the way to the top for the head of your snowman.

Now, decorate! Tie a scarf around your snowman's neck and add eyes, nose, and buttons. I used map pins for my eyes. Unfortunately, I didn't have any black ones, so I colored white ones with sharpie and stuck them in.

Use the toe of your cut socks to fashion a stocking cap.

You can either sew or glue on your buttons, and add embellishments - twine, bows, ribbons, etc - as needed.

This is such a quick and easy craft - 10 minutes tops - that it would be simple to create a whole family of snowmen for your mantle!

DIY: Birdseed Ornaments

Now that your tree is decorated in ornaments, garlands, and lights, it's time to make some ornaments for the trees outside your window.

These adorable ornaments are for the birds -- made from birdseed and a special holiday treat to entice those colorful birds to your backyard.

{birdseed ornaments}

Ingredients:

1/4 cup water

1/2 cup flour

2 cups birdseed

3 tbsp corn syrup

Cookie cutters or mold

String

This recipe calls for a simple mix of birdseed that you can pick up from a pet store, but I was lazy and didn't feel like running to the store, so I made my own, instead!

My birdseed recipe: a two-cup mix of chopped peanuts, stale bread crumbs, raisins, and dried apple bits.

Mix the birdseed, water, flour, and corn syrup together until it forms a paste.

Fill your cookie cutters with the paste, making sure to pack it down tightly. Use a straw or a spoon end to poke a hole through the center of the paste, not too close to the edge of the ornament. (One of mine broke this way)

Let ornament dry overnight, or for several days if your paste is particularly goopy. My bread crumbs turned into a sticky paste, so it took about three days for everything to dry out properly. Make sure you're flipping your ornament frequently to allow it to dry on both sides.

At this point, when the ornaments had been sitting out for a while, Tanner noticed them on the counter and cried, "OOOO cookies!" then studied them for a second in confusion, and asked, "....granola cookies?" Haha, nice try, babe.

Push the birdseed mold out of the cookie cutter and allow edges to dry.

Tie string through the hole and hang in a tree for the birds to enjoy!

(Note: is it just me, or do you find it funny that I refused to purchase a set of cookie cutters for my Christmas cookies, but now that I'm making birdseed ornaments, it suddenly becomes an essential buy?)

DIY: Pop-Up Christmas Card

Pop-up cards are always delightful: the more intricate, the more amazing. I may not have the patience for a paper-cutting masterpiece, but it does make me giggle irrepressibly to create simple pop-up cards of my own.

Here's a particularly adorable one I'd love to share with you this season. And best yet -- it's a simple craft that anyone can make!

{pop-up christmas tree card}

First, cut out two pieces of heavy cardstock, one white and one green, 5 1/2 inches wide by 8 1/2 inches long. Fold them in half to create cards.

Turn the white piece of cardstock over so that the fold is pointed toward you ("mountain" fold). Draw half of a tree shape on the left side of the fold. I drew scalloped branches for each branch tier.

Fold the card in half and cut along the scalloped lines. Fold the cut along the straight edge of your tree drawing. Do this for each section until all are complete.

Now, flip your card over and "pop out" the sections of your tree, one by one. Refold your creases to make them sharp.

Paste your white card onto your green cardstock to make a complete card.

Decorate your tree if you like, or leave it white and snowy. Whip up a holiday greeting and send this lovely card off to friends and family!