DIY: Homemade Polaroid Coasters

The current coasters in our household are dreadfully un-creative, so I've been trying to think of something fun to jazz them up.

We need new coasters + I like making stuff + I have 673875 photographs on my hard drive = homemade Polaroid coasters. Ding!

And believe it or not folks, this was my first foray into the world of Mod Podge (or as Tanner calls it, "Hodge Podge"). I'm not sure how I've gone so many crafty years without Mod Podging anything, but somehow it escaped me. No more! This fun craft I've been trying to do for a few months, and once I got started, it took a few trial-and-errors, several weeks, and many, many hours of painting-and-drying to get everything finally finished. I'm going to share my process and some tips and tricks with you that I learned along the way.

Be prepared, folks. This is an intensely long blog post. But it's also awesome. Promise. :)

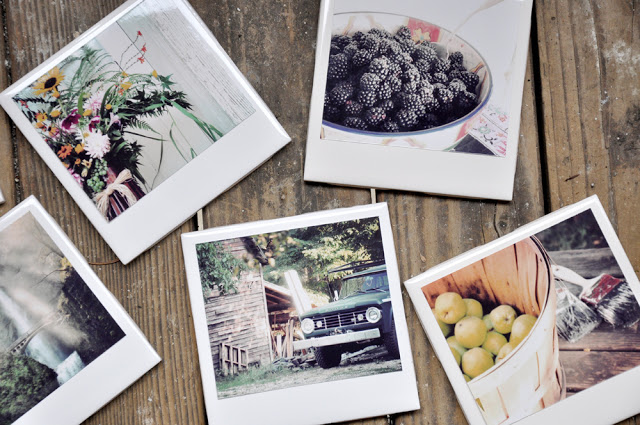
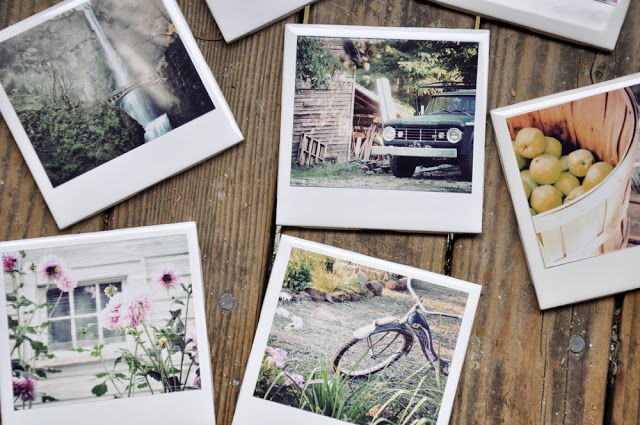
{homemade polaroid coasters}

Supplies needed:

4x4 white ceramic tiles ($0.79 at Lowe's)
3.5 x 5 photos (RitzPix does prints for 6 cents on Tues/Weds)
Mod Podge (glossy or matte... or the one made for paper if you want archival)
Sponge brush (for mod podge)
Clear acrylic spray
Small felt circles (like the ones that go under furniture legs)

First you need to prepare your photos. Pick out a bunch you like for printing (you should overestimate how many you need... I printed out 20 and went through a bunch of "trial-and-error" photos before settling on my final 8).

Before printing, you're going to want to "tweak" them a little in Photoshop. For my photos, I played with the color, vignetting and contrast to make them look more "antiqued." If you know how to do this already, have fun messing around with it. If not, I'm bad at explaining the process since I just make stuff up until it looks right, but the Pioneer Woman has some great actions you can download to make the process really simple.

(Keep in mind when you're formatting your photos that they will be printed at 3.5 x 5", but you'll be trimming them smaller than that, so make sure your main subject doesn't fill up the entire photo.)

As an example, here are some before/ after shots I changed to make them look more "polaroid":

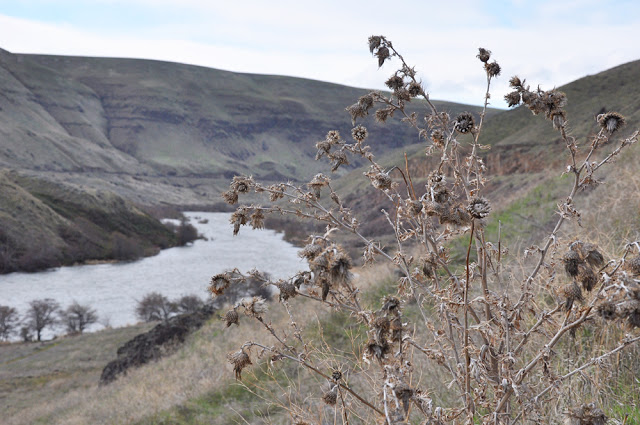
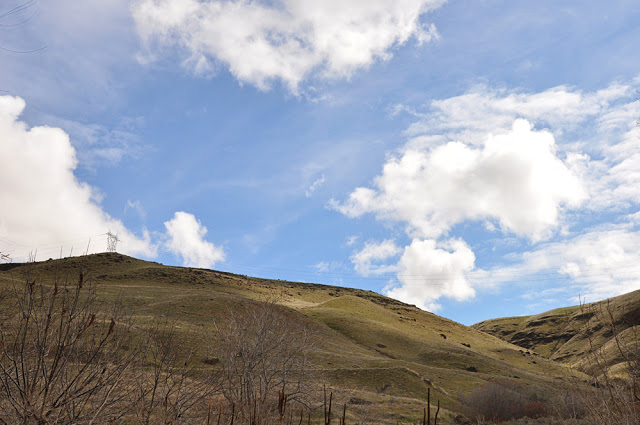
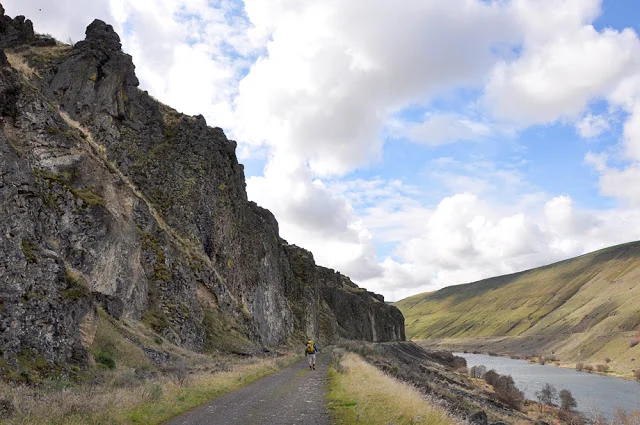
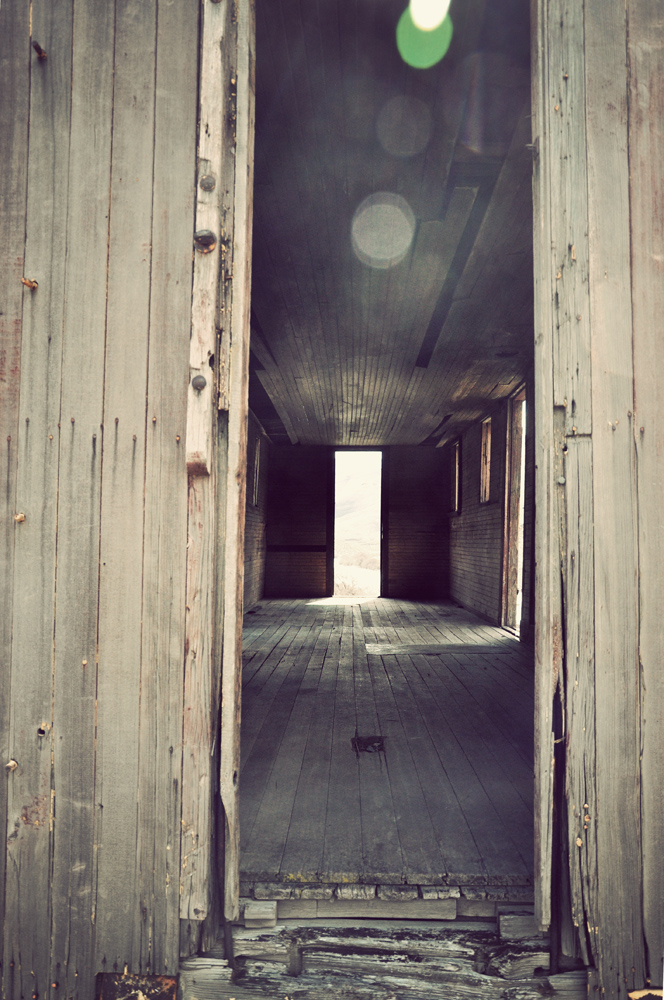
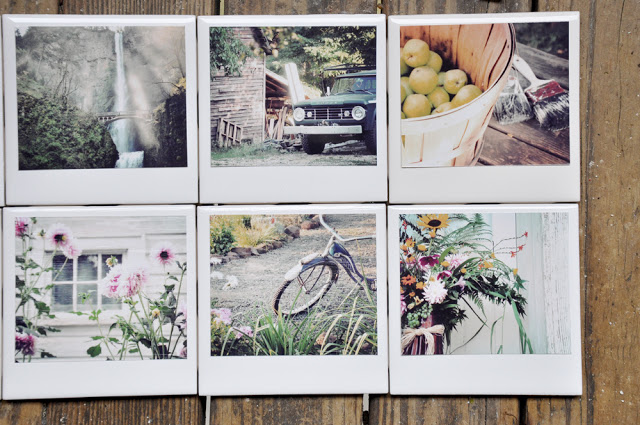
A lot of my chosen photos came from my photo shoot from the farm in Salem, but I do have some great ones of the coast and waterfalls of Oregon, too.

(UPDATE: Another easy way to get an antiqued look to your photos without using Photoshop is to use your Instagram feed! They're already square for you and you can print them off pretty cheaply at Printstagram)

Now for the diy process:

1. Once you have your photos printed and ready, you'll need to trim them down to 3.25 x 3.75", which means you're shaving off 0.25" height-wise and 1.25" width-wise.

2. Clean and dry your ceramic tile. I've also heard that "roughing up" your tile with some sandpaper helps the Mod Podge adhere better. I didn't do this, but I did have some issues with slidey photos and my Mod Podge scraping off with little effort, so it's probably a good idea.

3. Using your sponge brush, paint a thin coat of Mod Podge on the back of your photo. Carefully place the photo on your ceramic tile, leaving about 1/4" border around the top and two sides, and about 1" border at the bottom.

4. Smooth down the photo with a credit card or something similar, taking care not to let the photo slide around on the tile too much. Let dry.

5. Apply a thin layer of Mod Podge with your sponge brush over the entire tile, photo included. Make sure you're using even, straight brush strokes, since these will still be somewhat visible on the final product. The Mod Podge will look white when you paint it on, but it dries clear. Let dry for several hours.

*Tip: I know there's a lot of "let dry" after each little step going on here, but I highly recommend doing this project with a lot of patience. My first couple attempts I got impatient and tried to keep layering Mod Podge or just slapping it over a not-dry photo before it was completely dry, and it always turned out badly for me. Moral of the story: don't do this project with a deadline, and be prepared for some watch-grass-grow and watch-paint-dry style patience.

6. Repeat step 5 two or three more times until you have a good strong coat on top of your photo. Let dry between each coat.

7. When the Mod Podge is completely dry, spray the tile with a coat of your Clear Acrylic spray. This should remove the "tackiness" of the Mod Podge and make the coaster even more water resistant.

*Another tip: I got a little frustrated by how much the Mod Podge streaks showed up even after it was dry. I used glossy Mod Podge, so it may be that Matte is a little more forgiving. I also don't think Mod Podge is completely necessary. For one of my coasters I experimented with just gluing the photo down with the stuff and then spraying the whole thing with the Clear Acrylic. So far it appears to be fairly water resistant and the overall "look" is vastly improved. I don't know how well it will hold up to melting ice water over time, but that's another option.

UPDATE: I've had some great suggestions from readers about how to improve this process! If the mod podge or the acrylic spray doesn't work well for you, other ideas include: an automotive clear sealer, a two-part epoxy resin, or a diluted mod podge (or homemade mod podge tends to be thinner, too). I haven't tried these personally, but they sound like viable options to me! :)

*Another another tip: I tried to get "extra crafty" with my non-Mod Podged tile by adding a little Sharpie caption to the bottom of one of them. It looked awesome until I sprayed it, and then the Sharpie ran a little and now it looks really smudgy. You have been warned.

ANOTHER UPDATE: A few people have suggested that if you want to add a sharpie caption, try baking the tiles in the oven before adding the photo to "solidify" the sharpie and keep it from smudging.

8. Adhere felt pads to bottom corners of tile to protect your tabletops.

9. Wait 48-72 hours before placing cold liquids on your tile, to make sure the Mod Podge and the Acrylic spray has set.

Enjoy your coaster set!

(Psst... check out my guest spot on Julie Ann Art today!)

Chocolate Banana Ice Cream

I got this recipe from my friend Elizabeth, who found it on Pinterest, which is the source of all good things in the world. It's a healthy way to make yourself some ice cream when you're craving something sweet but don't want to eat a lot of calories late at night. I also discovered that it's incredibly easy to make, and my version is only a slight variation from my chocolate banana smoothies!

{chocolate banana ice cream}

There are only three steps:

1. Freeze a few unpeeled, ripe bananas
2. Put a frozen banana and a splash of chocolate almond (or soy) milk in the blender
3. Blend until consistency is creamy

I'm amazed how much this tastes like ice cream, despite that I know it is bananas. Really, the only difference between this version and my smoothie is that you're making it with significantly less milk. (You only want to put just enough to wet the bananas.) I kept adding it in small doses until I had the desired consistency.

The original recipe calls to make this dessert with cocoa powder and a splash of milk, but I figured chocolate almond milk was just killing two birds with one stone. Next I'm going to try adding in some more fruits, like strawberries, to mix up the flavors.

Either way, it's so delicious that I made a large batch last night and ended up eating three banana's worth of ice cream in one sitting. Now I'm not going to poop for a week, but it was totally worth it.

Deschutes River Backpack

This weekend was a lovely escape into eastern Oregon for some (much needed) sunshine and R&R. Actually, by "R&R" I mean that we hiked 20 miles, got sunburned, and got blisters on every toe (I discovered 2 miles in that my boots were too narrow and I spent the following 18 miles limping along under a 40 pound pack).

But the scenery was beautiful and I couldn't stop staring at the sky, which was a brilliant blue with the puffiest white clouds I've ever seen. The stark, rolling hills and dry shrubs of the high desert of Oregon was such a change from the green, rainy, misty Portland weather that I've grown used to. It was hard to convince myself we were only two hours from home. I could've convinced myself we were in Arizona at any moment, except that the blasting sun was cooled by a gentle, chilly breeze during the day that made backpacking SO much nicer.

Side note: I've decided that 50 degrees and sunny is my absolute FAVORITE kind of weather. Anyone know where I can live that is moderately cold and sunshiney all the time? I'm moving there immediately.

The hike was an easy one, because we were hiking along an old railway bed, so it was very level and covered in a loose gravel. The trail is often used by equestrians and bikers, and the campsites used by the rafters who ride the Deschutes River in the summer. Each bend of the river brought new beauty and a new sense of "old west", including a few old cable cars beside the road.

By night we settled into camps by the river, listening to the slosh of the water as we gobbled down some delicious backpacker meals. When it got dark by 7:00 there wasn't much to do except go to bed, so we zipped our sleeping bags together and fell asleep -- and when we woke up early the next day with the sun, it didn't feel early at all.

After three days in the wild we returned back to civilization, but I had forgotten what an effect a cool breeze and a warm sun can do for my disposition. The rain in the Columbia Gorge can be beautiful, but the sun was invigorating and it brought with it a sense of renewal. It was a much needed escape.

As for the photos, a few weeks ago I ordered myself a super-fancy high-dollar glass circular polarizing filter for my camera so I could get some great landscape shots with that dark blue sky that I've been missing in all my photos. (Polarizing filters keep your sky from getting that white "washed out" look when the camera is trying to balance the lights and darks in your shot. Think of it like wearing sunglasses.) Of course, I haven't been able to use it yet because I've barely seen the sun in Portland lately, but I was excited to try it out in sunny Bend last weekend.

Tragically, I forgot the filter at home and spent the whole trip cursing myself. (I even made up a song about it.) So I apologize for these shots being somewhat washed out... I swear the sky was the craziest shade of blue and I wish I could have captured it better.

When we got back from our trip, Tanner automatically began laying out all of our gear on the floor for cleaning. (I have him trained so well.) We made a bucket of soapy water and meticulously scrubbed clean our packs, sleeping pads and the tent (which we set up in our living room for ease of cleaning/drying) before putting them away. I told him, "now isn't it nicer knowing all our gear will be clean and dry for the next time we use it?" He just rolled his eyes, because sometimes my OCD tendencies are a little ridiculous, even for him.

While I wrapped my feet with tape (the blisters on my little toes were bigger than my toes, themselves...) and basked in the warmth of my sunburn, Tanner caught up on his tv shows and I turned in for bed at 10:00 pm, because "it's three hours past my bedtime!"

Our last day off was spent in the sun around town and at the tulip festival... but that's a story for another day.

DIY: Organized T-shirt Drawers

Oh my goodness, you guys. Do you ever have those moments where Pinterest changes your life? I mean, really. I had (another) one of those moments yesterday. I found a pin linking to {this post} and all my thoughts about how to organize t-shirt drawers were forever destroyed. I consider myself a pretty orderly person, but this revelation seriously had me yelling, "HOLY CRAP WHY DID I NOT DO THIS BEFORE?!"

The epiphany? Folding t-shirts in a drawer in horizontal rows instead of vertical ones so you can actually see all of your t-shirts at once. I KNOW. CRAZY.

Here's the before and after, once I dumped out my drawers and tried it out:

It's kind of embarrassing looking at the before picture, actually. I swear most of the time it looks better than that... but I get lazy. So, in case you're not already convinced, here are reasons this technique is awesome:

1. It's ridiculously easier to find the t-shirts you want to wear because you can see all of them at once.
2. You'll start discovering t-shirts you never even knew you had because they've been shoved in the bottom of your drawer so long. (Seriously. It's like Christmas.)
3. You'll have oodles of new-found space that suddenly wasn't there before. (It's like magic!)
4. You'll be able to clean out those old ratty t-shirts you've long forgotten about. (Or turn them into something craftier...)

For me, folding shirts like this is a different method than I'm used to. It's ideal to have the pattern of the shirt facing up so you can distinguish between them. Here's a handy-dandy folding chart featuring my Mt. Washington observatory shirt so you can learn how to organize your drawers, too!

1. Lay out your shirt with the print facing up. (In this case, it's the back of the shirt)
2. Fold the shirt in half length-wise, print still facing up.
3. Fold in your sleeves (this takes an extra fold with long-sleeved shirts)
4. Fold your shirt in half width-wise, with the sleeves tucked inside the fold.
5. Fold one more time width-wise. (In this case I tucked the bottom up behind, in order to best show off the pattern.)
6. Stack shirts in rows in your drawer with the patterned fold at the top.

And there you have it. Can you believe 30 t-shirts only took up half my drawer folded this way, when before I was finding it difficult to close the drawer without shirt tails hanging out?

Sigh. Organized bliss. :)