
One household problem that has plagued me constantly for a long time is finding a way to effectively organize electronics cables. These days everything we own seems to have its own charger: phones, cameras, e-readers, game consoles, computers, tablets, etc, etc. Pretty soon we're drowning in cords and cables, and since they're constantly in use, they're constantly in the way.
I've tried pretty much every Pinterest-inspired tip for how to organize these blasted things.
Binder clips, over-the-door bags, twist-ties, and the seemingly awesome toilet paper tube method.
But you know what happens when you use chargers on a daily basis? Your brilliant organized pile of TP tubes suddenly looks like this:

UGH. Messy, messy, messy. And difficult to find anything, difficult to put it back where it came from, and really, really ugly. This was a giant mess in two days and I knew there must be a better way to fix the Cable Conundrum.
It took me a while to find it, but I think I may have found (nearly) the perfect solution. It comes via {i heart organizing} and I'm going to show you just how to create this lovely cable corral with stuff you probably have lying around the house.
{diy cable box}
Supplies:
Shoe box(es)
Wrapping paper (or any kind of decorative paper)
Heavy cardboard pieces (cut from a shipping box or old shoe box)
Tape/glue
Ruler
Labels
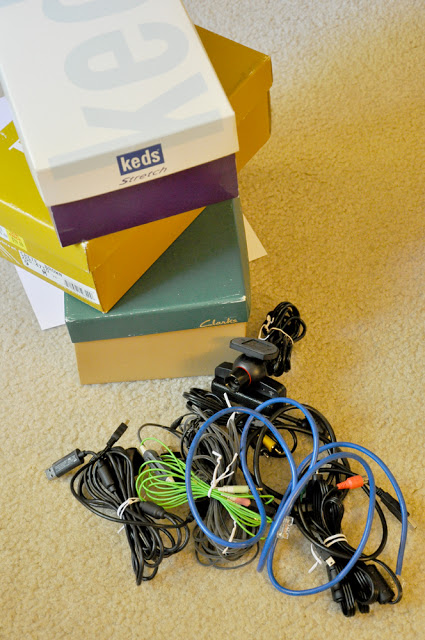
Hundreds of untamed cords/cables/chargers
First gather your supplies:
Choose a shoe box and wrap it up with pretty wrapping paper or decorative paper. This sounds like it should be really easy (like wrapping a present, right?) but it's actually harder than it looks. With a present you just have to wrap the outside, but with this project you have to wrap the inside, too, which makes it slightly trickier.
I don't have any good tips except to pick a wrapping paper that has a repetative pattern or a solid color so that you can just keep adding paper scraps to cover up all the little bits you miss when you wrap it wrong. Trust me on this one.
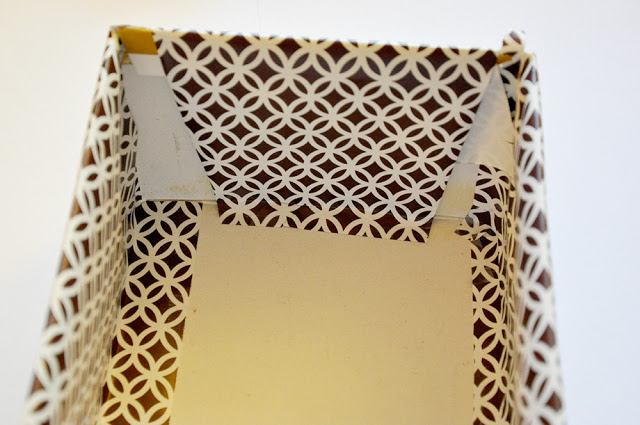
See? Pretty sloppy. But a little extra paper strategically taped into place...
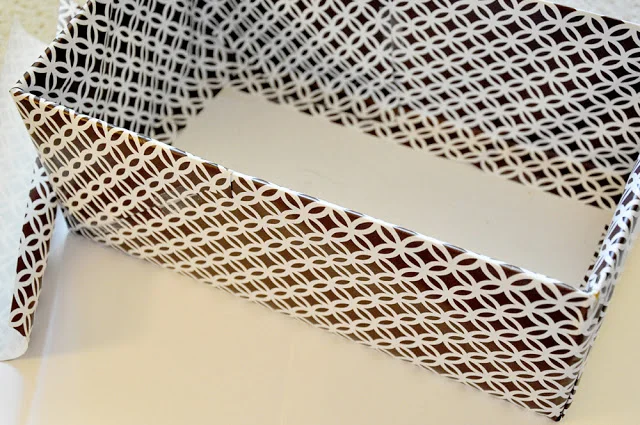
...and it sort of looks way better.
I also recommend pulling the paper as tightly as you can, or perhaps gluing it down as you go, otherwise it will catch air when you try to put the lid on and be a little billowy.
Now decide how many sections you want your shoe box to have, based on the size of your cords. My first box I made six small divisions for phone/camera cords, but the XBox and PS3 chargers needed more space, so I made another box with just four sections.
With your scraps of cardboard, measure out the length and width of your sections. For a box with six divisions, you'll need one length-wide piece and two width-wide pieces. Cut slits halfway up each for them to fit together.
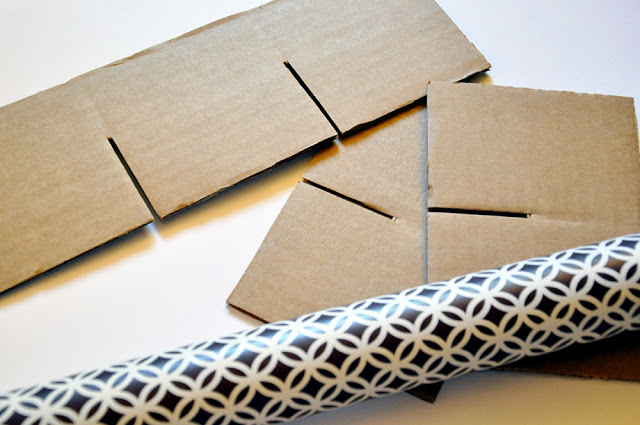
Put the assembled dividers together in your box, to make sure they fit!
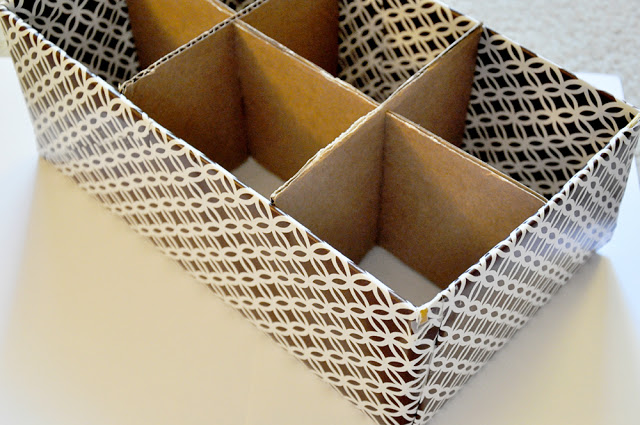
Cover the cardboard dividers with the wrapping paper and re-cut the slits.

Now re-assemble...
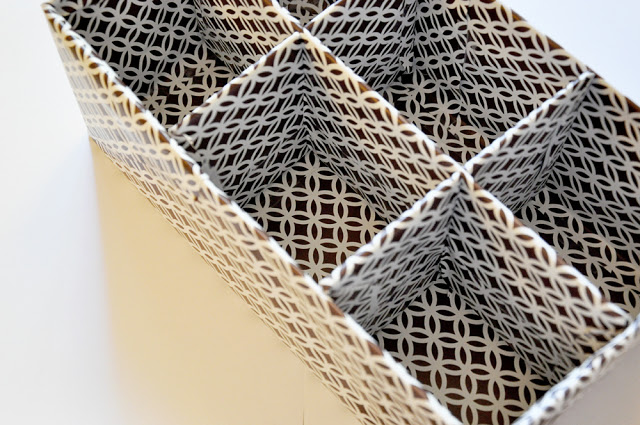
And don't forget to wrap the lid!

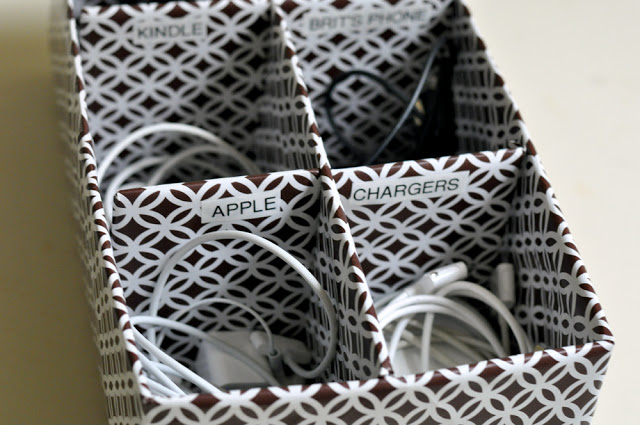
Now make some oh-so-fancy labels, toss in your cords, and you're set!

(Don't you love that we have so many Apple cords they takes up two sections of the box?)
I love this system because even when we use these cords on a daily basis, they are easy to retrieve, easy to put back, and easy to store out of sight! And it ensures we know exactly where to find them. They are currently stacked neatly on our entertainment center shelves.
What do you think? How do you store all your cables?