
I love Pinterest as a source of crafty inspiration. However, I think sometimes I get so carried away pinning things and surfing the internet for inspiration, that I forget to take time to actually create anything. Sound familiar? Are you guilty of this, too? ;)
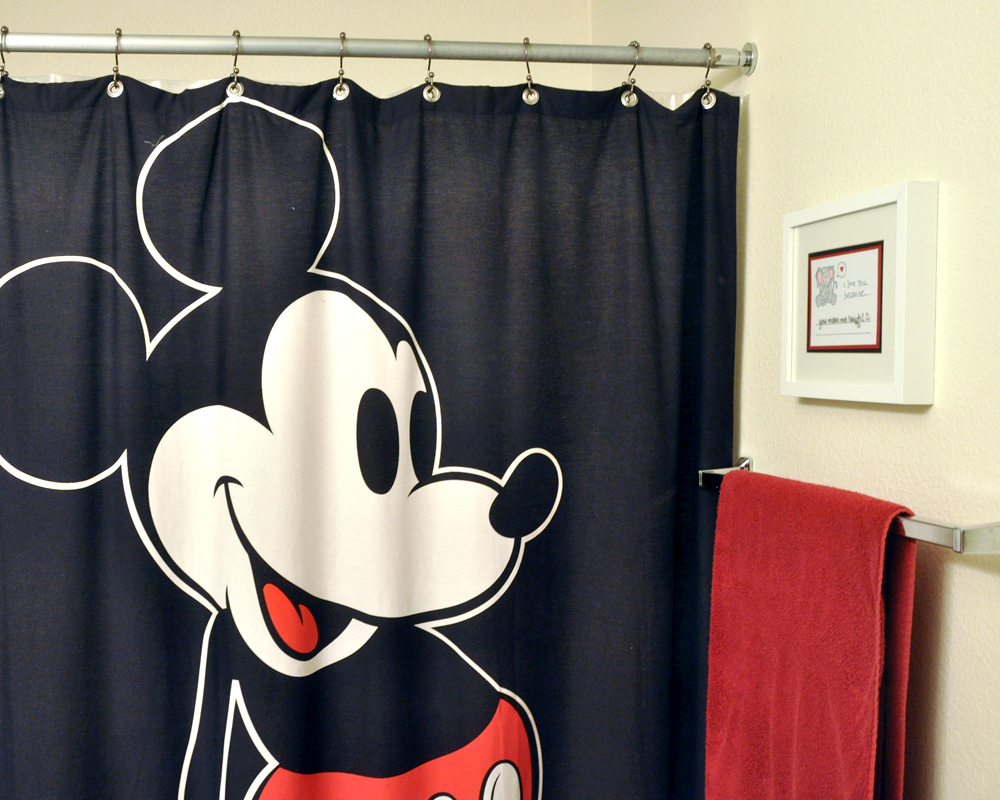
I've loved {this} idea for some time, and I finally decided to make one of my own! I had an old IKEA frame that I bought a while ago and had yet to find a good use for it. So with a little craftiness, some colored cardstock, a little sketch done by me and a nail to hang it on... we have an adorable new piece of customizable art in our bathroom. So cute!
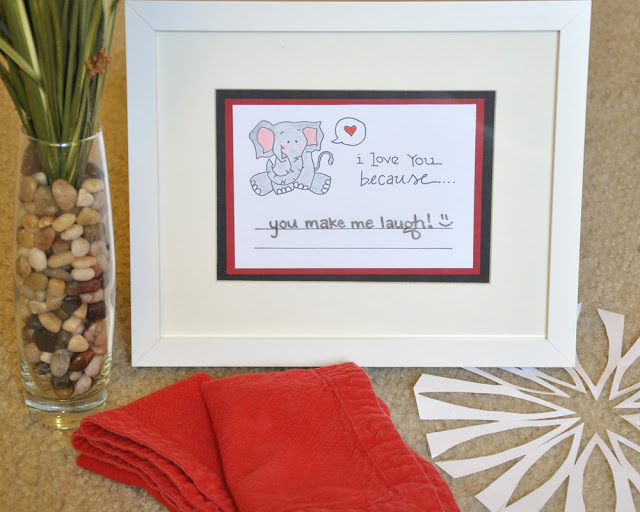
{diy dry erase artwork}
Needed:
Colored cardstock
Frame (5x7 opening)
Paper cutter
Double sided tape
Pens/ colored pencils
Ruler
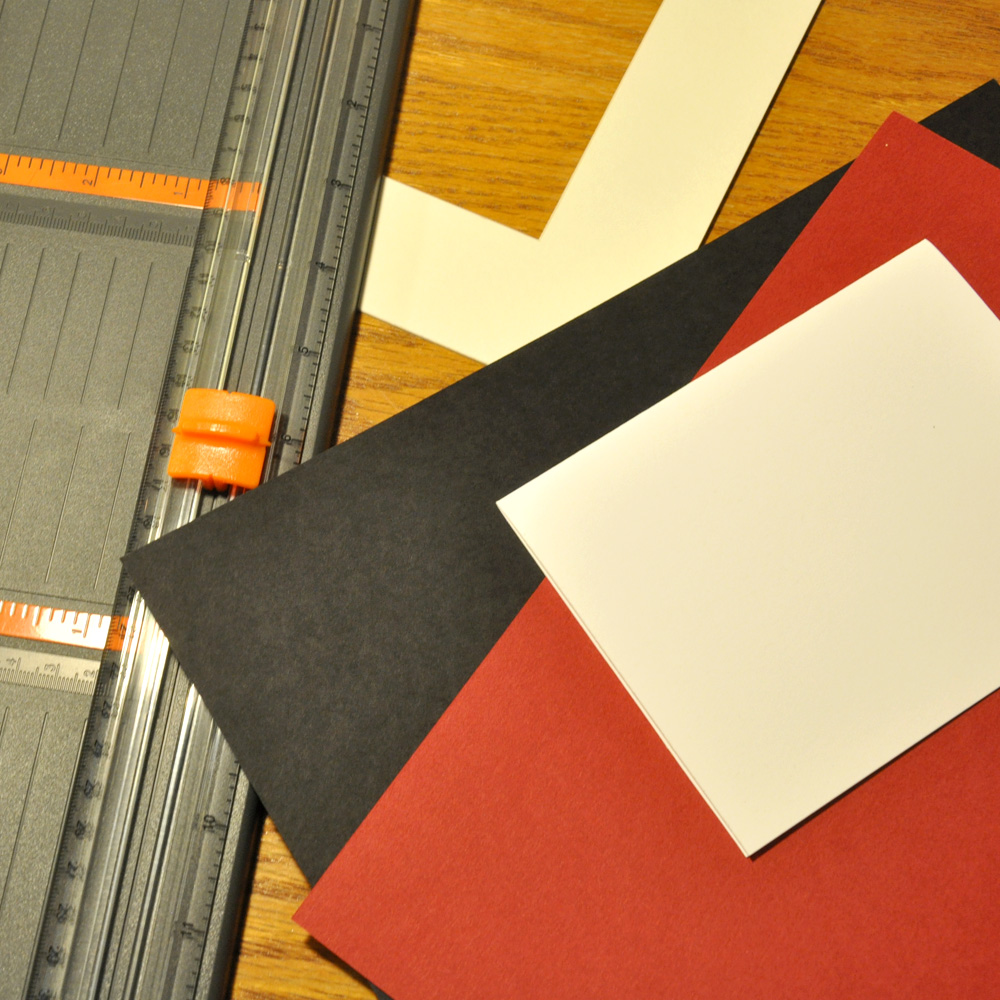

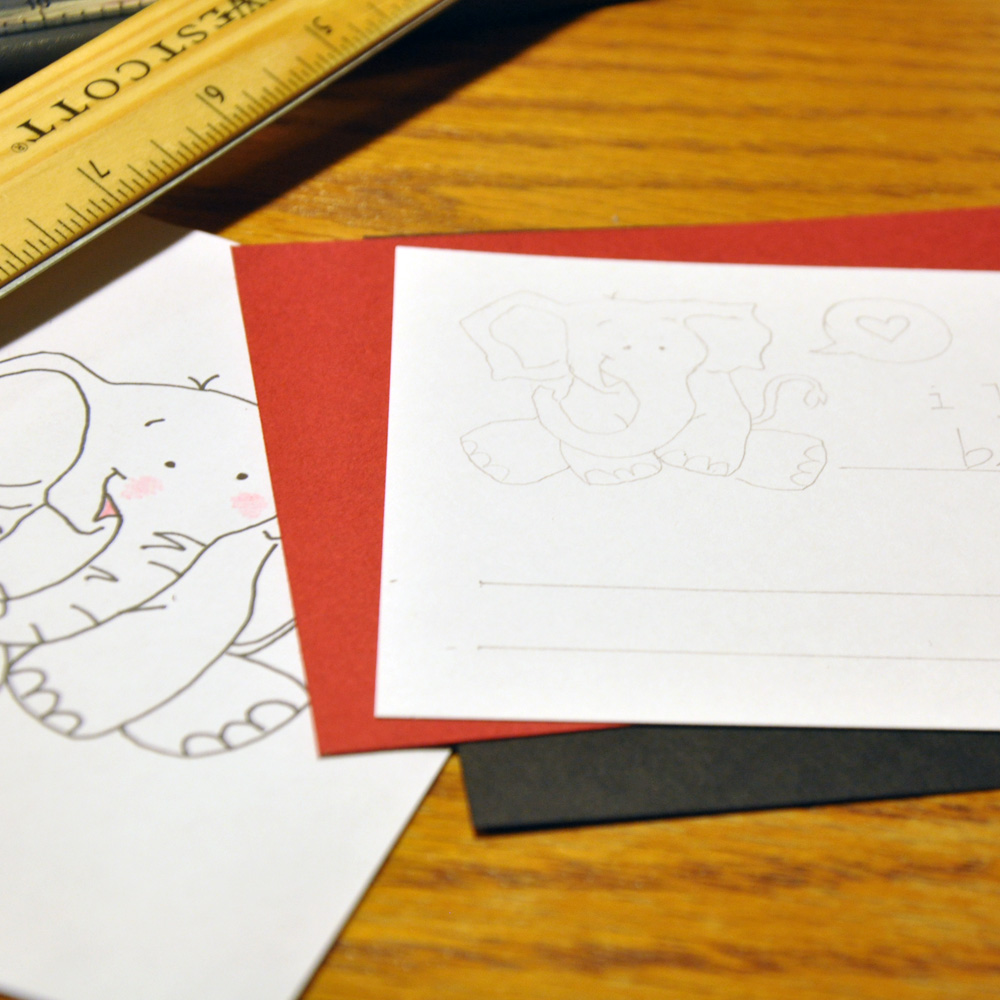
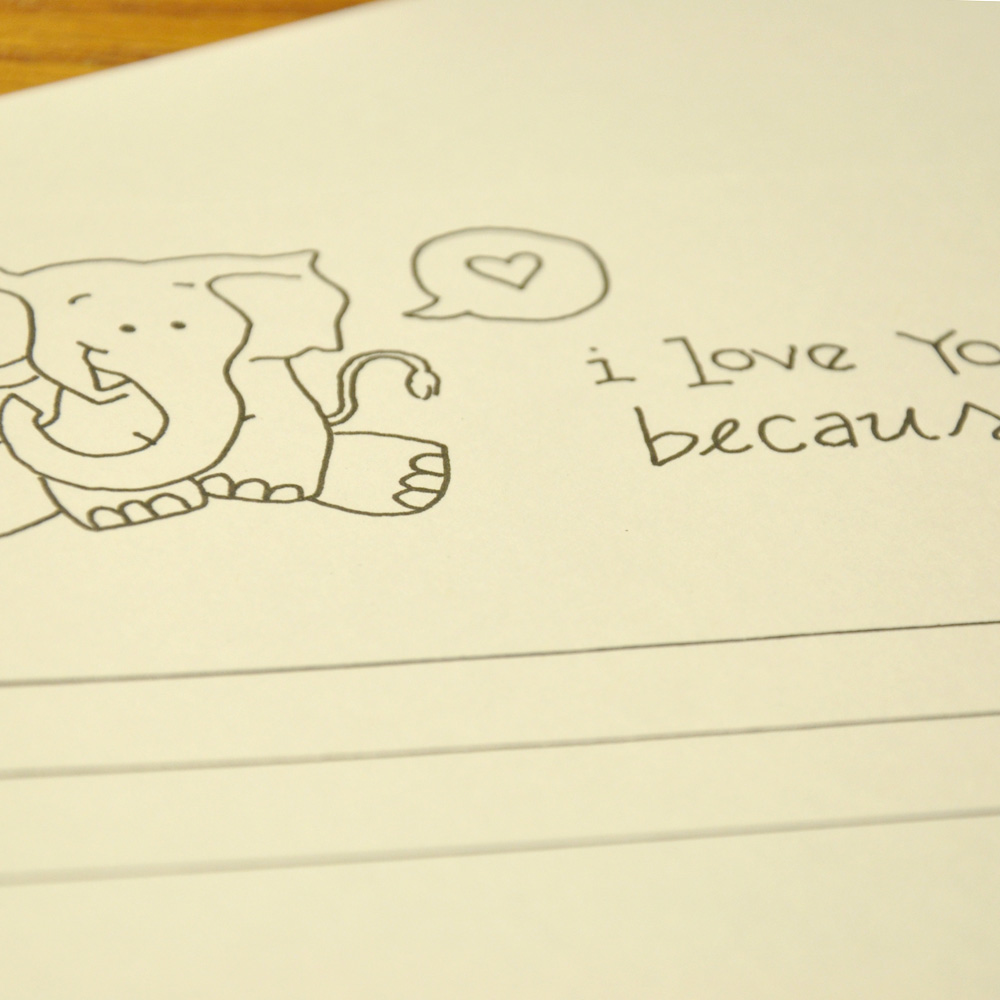
I created a framed photo by cutting out black cardstock to 5x7, then cutting red cardstock slightly smaller to create a border, then white cardstock slightly smaller than the red. I attached everything with double-sided tape and sketched out my artwork on the white cardstock.
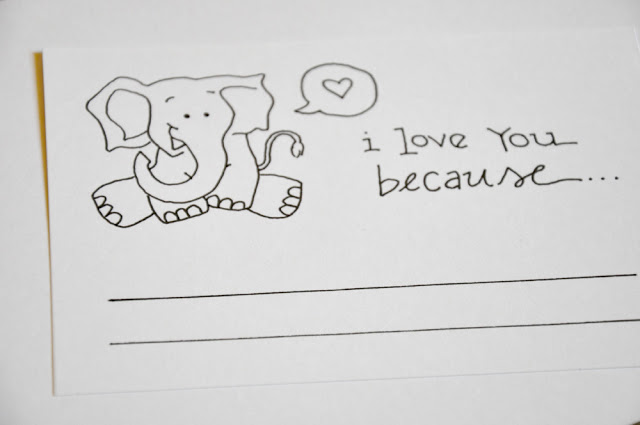

I drew lines with the ruler and a pen and colored in my artwork with colored pencil. Then it went into the frame and into the bathroom!
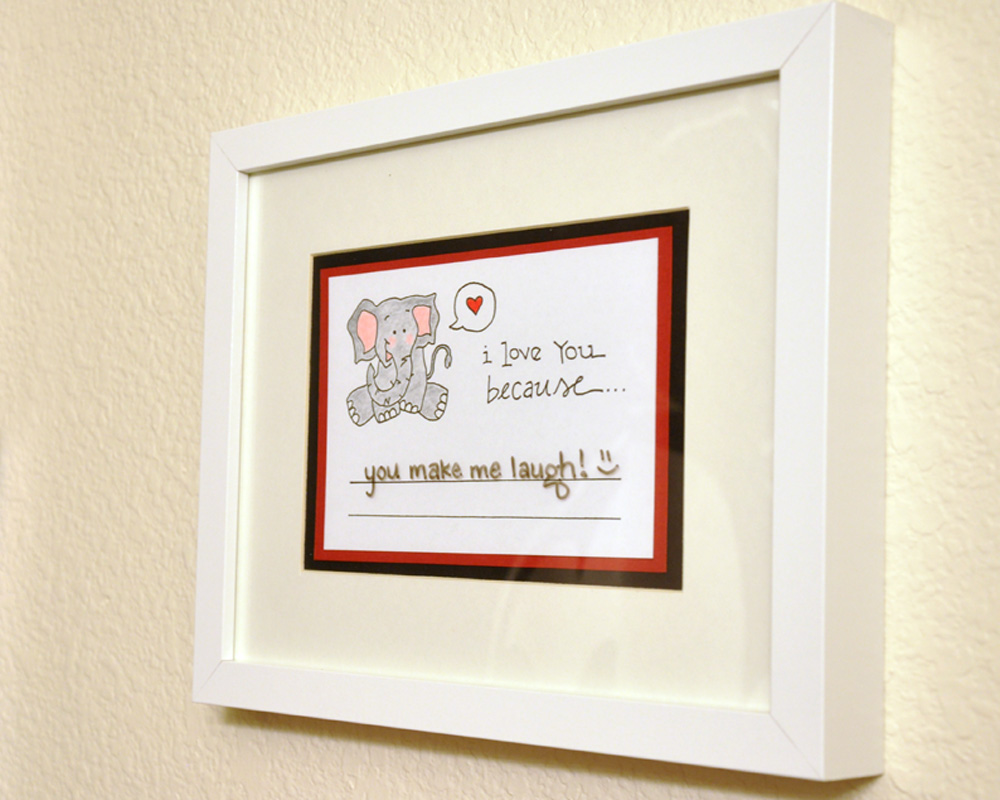

You can write whatever you like on the glass of the frame with a dry-erase marker. All it takes is a little tissue paper to wipe off what you've written and start again! Have fun! :)